Every year around this time my impatience blossoms and covers everything in its vining despair. There’s no damn light. There’s nothing but clouds. It’s still so cold. Is it raining again? And every year I convince myself that it’ll all clear in time to get some transplants out if I only go through the motions of planting those little seeds inside right now.
And maybe you feel a little like this, too, so in this post I’m going to walk us all through a few steps to seed-starting success. Because there is honestly nothing worse than getting your hopes up about growing plants and never seeing them emerge from the soil at all.
We have been through (and are still in) a global pandemic, we’re watching democracy collapse around us, and we might all end up living through an incredible political-social upheaval of epic proportions.
What do you do when the world falls apart?
You plant things.
But there’s a misconception that we all “just know” how to do this stuff. Don’t let that lie bring you down. Gardening is HARD. Like really hard. And when you’re successful at gardening, it’s either because you were lucky (rare), you worked incredibly hard for years to get where you are (this is me), or you learned from someone else (maybe this is you after today’s seed lecture). We should all get to spend time in that third category. That’s how humanity survives, after all—by passing our knowledge on to others so that they don’t have to starve while they figure out how to get carrot seeds to emerge. If you’ve been trying to garden for a while and you’re still seeing minimal success, it’s probably time to ask a friend for a little help.
Starting your own seeds to transplant out into your garden does not have to be rocket science. I’m going to break this down into some super easy steps for you so that you get success every single time you start seeds.
Today’s post is loooooooooong, and it has a bunch of photos with captions you don’t want to miss. You might want to view this post in the app instead of in your email so that you can see the whole thing.
Or go take a nap instead. I won’t judge.
Before we plant anything let’s just quickly review where your seeds have been this whole time before you brought them out to play with.
Seed procurement and storage
If someone has told you that you need fresh seeds every single year, I hereby give you permission to laugh at them. It’s not entirely false—they’re saying you need fresh seeds because most of us are terrible at seed storage. Up your storage game and watch your investment in seeds really pay off.
If you happen to have a box or a bag of old seeds, you don’t have to throw them out and start over, but I also wouldn’t hang my hat on them germinating if their storage conditions weren’t ideal.
When you’re ready to buy seeds, go online, peruse one of the top seed distributors1, mail order what you want, and then get them into a cool, dark, extremely dry place right away. To store seeds so that they will grow next month or next year, they need to be kept very cool (a refrigerator is actually ideal, but please don’t freeze them), totally dark (light triggers growth in some varieties), and ridiculously dry (which means keeping them in an airtight container that also has some desiccant in it).
Why shouldn’t you buy them from a grocery store or even a plant nursery? If you walk into any of these businesses and locate the seed rack, I’m willing to bet it will be in very bright light, typically in a warm environment where you’re not wearing a coat, and possibly even surrounded by potted plants giving off a lot of humidity. Ironically, those very same seed packets were properly stored before they showed up at Fred Meyer. Skip the store (unless they keep their seeds in a cooler where you ask an employee to go get what you want) and mail order instead. In most places the seed box will be in transit for just a couple of days, which isn’t the worst thing for them to endure.
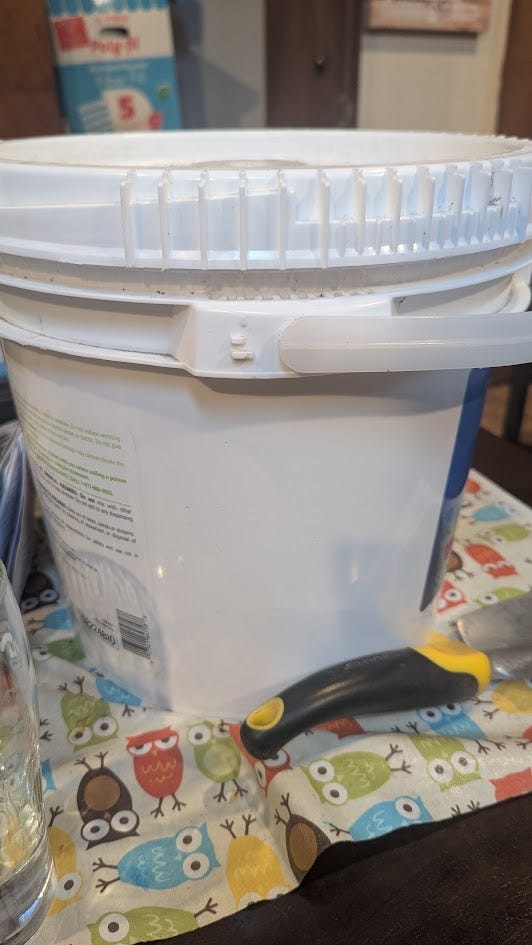
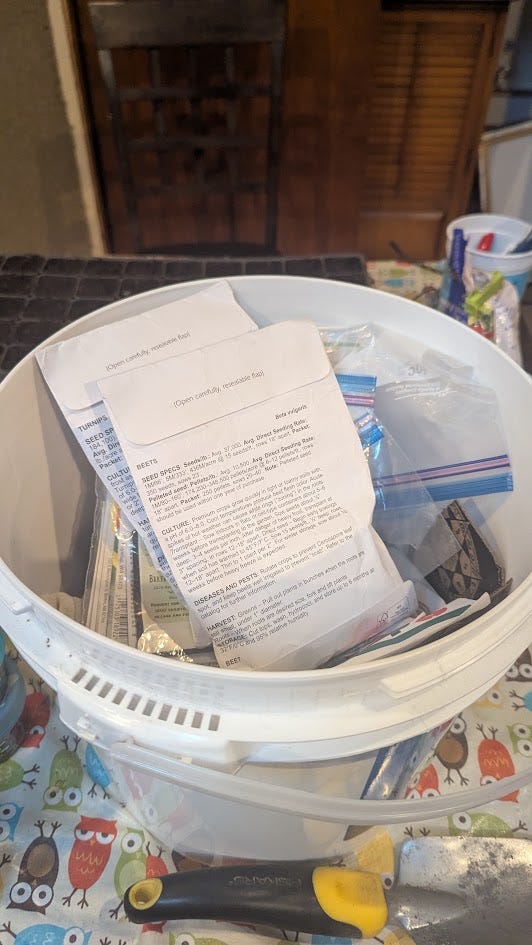
Best storage for your new seeds? Get yourself a plastic bucket with a lid that seals tightly. You want something that seals adequately to keep out all moisture from the air in your home. Inside that bucket, load up some sachets of desiccant to keep the in-bucket environment totally dry.2 I go the extra mile and organize my seed types together in plastic bags inside the bucket with a sack of desiccant in each plastic bag. This way I can pull out all my greens (lettuce, arugula, cress, spinach), coles (cabbage, broccoli, cauliflower, kale, bok choi), roots (beets, radishes, carrots, parsnips, turnips, celeriac, rutabaga), solanums (tomatoes, peppers), cucurbits (cucumbers, melons, squash, pumpkins), alliums (onions, leeks)… You get the picture.
Bottom line:
Buy good quality seeds from a trusted source.
Keep them dark, super dry, and cold.
Organize with ziplock bags.
Use desiccant with care.
Planting the seeds
You might have seen a few youtube videos or read some library books on this topic, but I’m going to streamline it all for you right here.
Best supplies:
Seedling flats3 (multi-celled plastic form with 50, 72, or more cells, each with an open hole in the bottom) – I do not recommend using egg cartons for this.4
4-inch pots for up-potting or planting bigger seeds5
Trays to go under those flats or pots for watering underneath
Seed-starting mix or light potting soil6
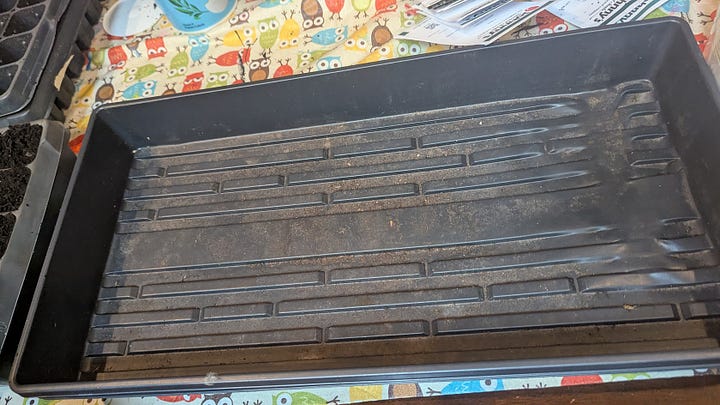
Some kind of kitty litter box or other large, rectangular, open container to mix soil in and fill pots from
Tags to identify each plant
Grow lights (LED or florescent, never incandescent)
A pencil you don’t care about
Dump your seed-starting mix into the kitty litter bin. Loosen it up with your hands. If it’s really dry, add some water to it right now, and keep mixing it with your hands. It should be moist but not wet. Peat moss is notorious for refusing to suck up water, so you might need to give it a few minutes to absorb moisture.
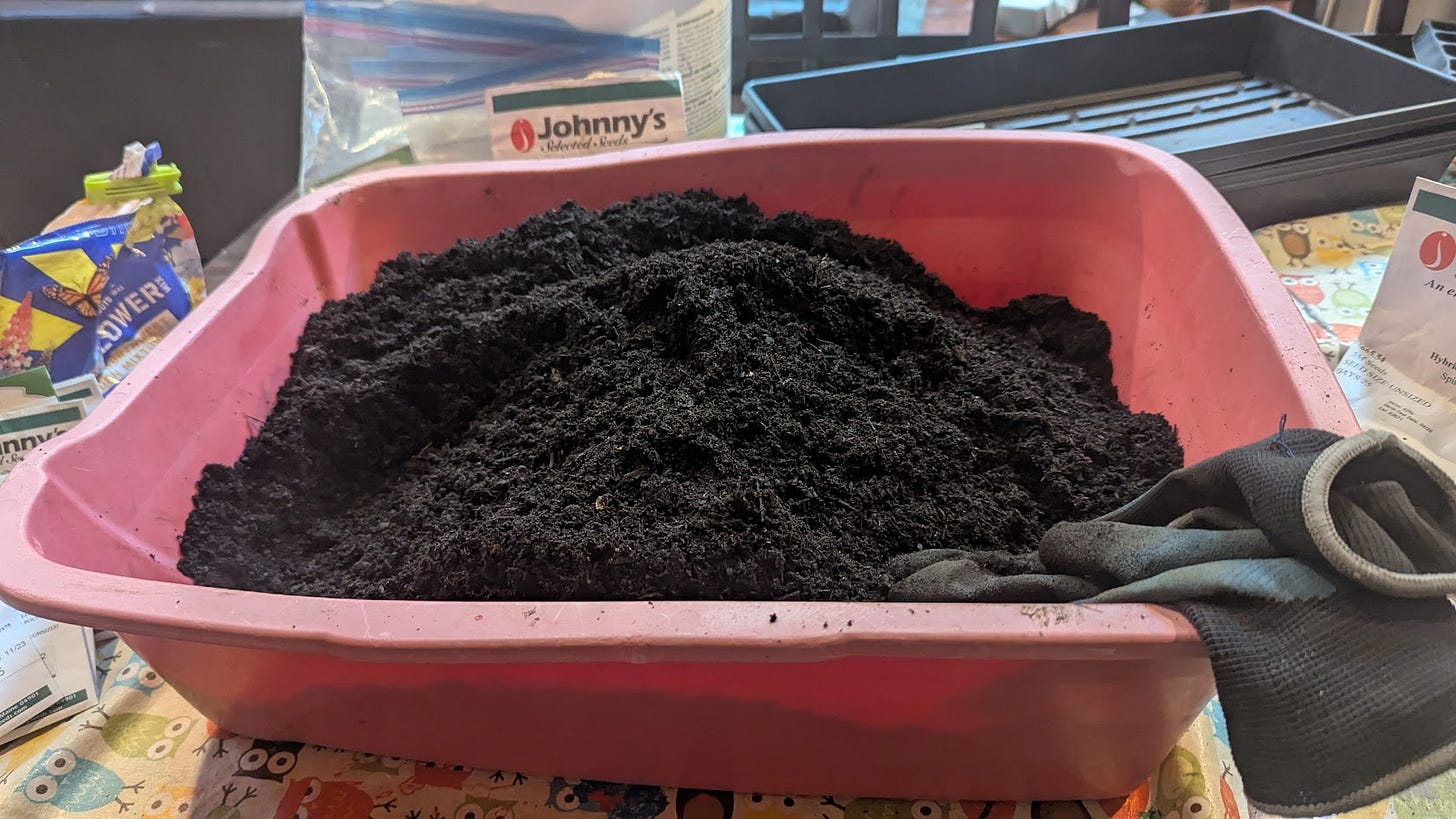
Scoop the soil right into the top of your seedling flat with reckless abandon. Brush it over the top with your hands, pressing lightly into each cell to compact the dirt just a bit. If you have two trays, use an empty one on top of the full one to press down on those partially filled cells. Brush more potting mix over the top again, repeat until each cell is filled almost to the top and lightly compacted.
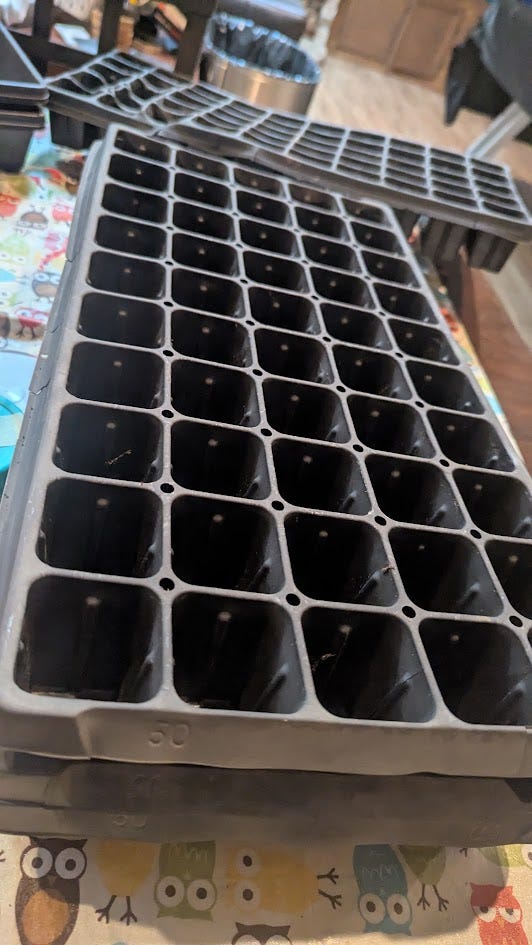
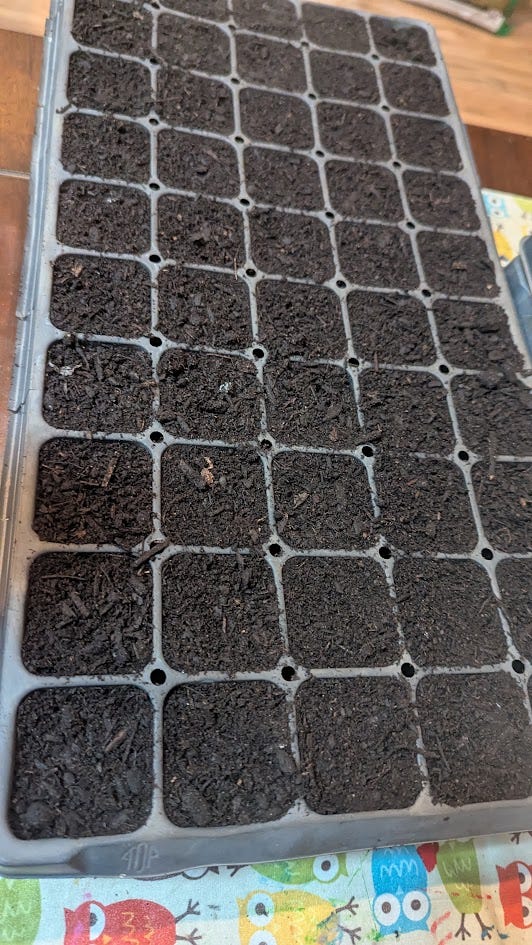
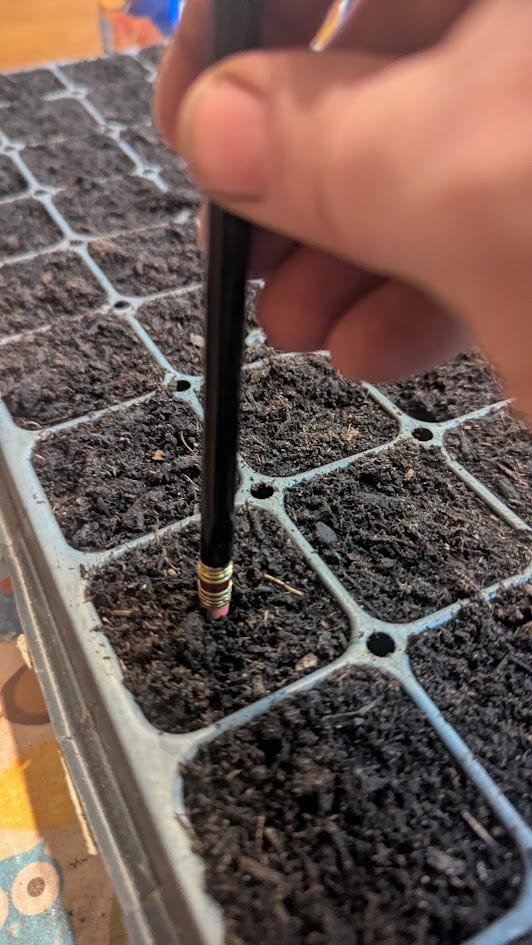
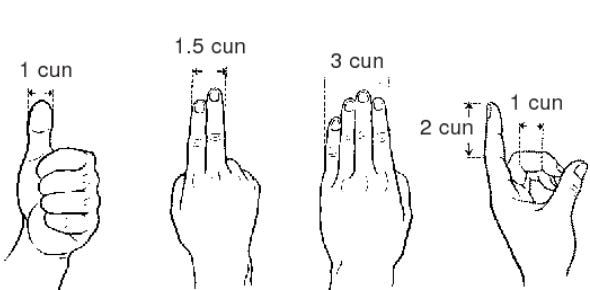
Grab that pencil you don’t care about and poke a hole in the center of each cell no more than pencil-tip deep (one cun). You can use the tip end or the eraser. The point is to make a little hole you’ll drop seeds into. When you read the seed packet, note the depth they want you to plant each seed. Some seeds need light and will rest at the surface of the soil. Most seeds want to be lightly covered. Bigger seeds want to be planted deeper, and almost nobody wants to be planted more than one cun deep (use your body to measure things when you can).
Gently tap a few seeds out of the seed packet into your hand. Don’t reach into the packet! This introduces moisture and dirt into the seeds, which isn’t good for them. Pick up as few seeds as possible between your fingers and drop one into each hole. No, not six seeds in one hole, just one if you can. Some seeds are tiny, or our dexterity does not allow this to go the way we want, and I’ll cover what to do later when you get nine tomato plants in one crowded cell.
Now take the pencil again and use it to collapse that little hole over the seed in each cell. No more pressure, nothing violent. Just get it covered with dirt. Repeat until the seedling flat is full.
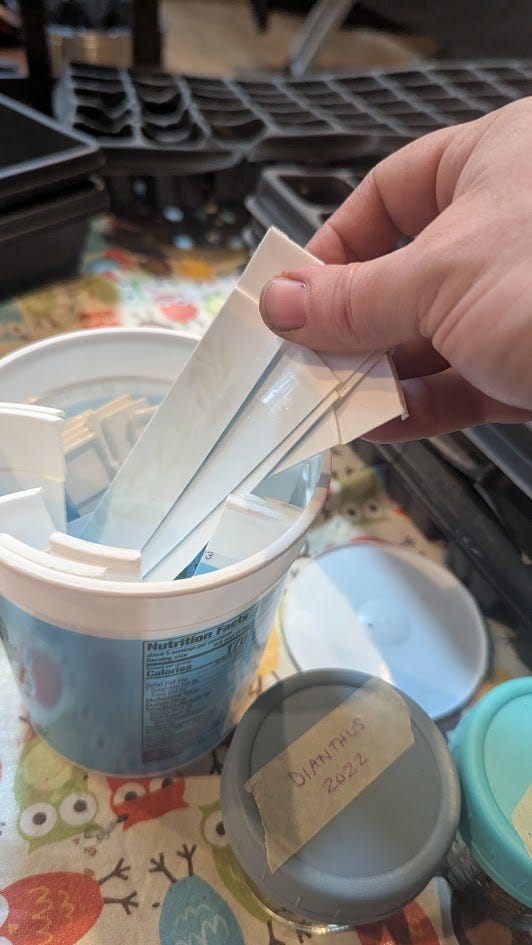

Don’t skip this step—LABEL EVERYTHING RIGHT NOW. To make this easy, plant a whole flat of the same thing. All lettuce, maybe, or all cabbages. Do you need 72 cabbages? No, probably not, but they might not all make it. Maybe you’re growing 6 varieties of coles (which includes cauliflower or broccoli or kale), so they can all get started in the same flat. Or yes, you really do want 72 cabbages, or you plan to gift some to the neighbors, or you just really like coleslaw and kimchee and sauerkraut.
Rookie mistake #1? Planting different types of things together in the same flat. Don’t try to combine tomatoes and peppers in the same flat. They germinate at a different rate, they want different heat requirements, and they’ll grow taller at different rates. So each flat needs to be 50 or 72 or 100 of roughly the same thing. 50 different varieties of lettuce? Sure. Or 5 cells each of 10 varieties, or whatever math works for your seed collection and growing needs. And yes, I understand this is a huge process barrier for anyone with a smaller garden, but I guarantee it makes an enormous difference if you start growing an entire flat of [insert vegetable here] instead of blending your starts. The segregation really matters here. Each of these seed types needs different growing routines, and sowing a whole flat gives you untold farming superpowers that you didn’t even know you had.
But BOOM, you do.
Bottom line:
Use a small, consistent-sized container for each seedling. Seedling trays are ideal.
Plant the same thing in a whole tray.
Match heat, light, and growth requirements in companion trays.
Get them growing!
Now that your seedling flats are full, nestle them into their trays so that they won’t leak water all over your home. When you buy seedling flats you should have the option of getting trays to match them. Those are more important than a humidity dome since most starts will outgrow the dome really fast. Get the trays. Don’t skip them. You’ll need those trays since you will be watering your seedlings almost exclusively from below. Start right now.
Get the flat into the tray, lift up one corner, and pour 2 cups of room temperature water into it. Set the edge of the flat back down, and let that soil soak the water up from below. Check the tray every few days for moisture. If it’s totally dry, feel the soil with the back of your fingers. Damp? Leave it another day. Getting dry? Fill up that tray again with 2 cups of water. Big gulps each time, no trickles.
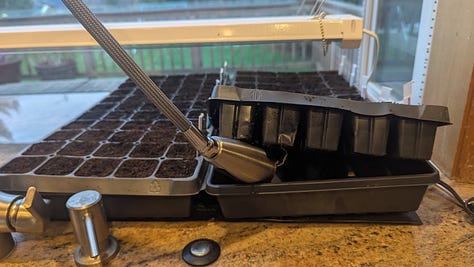
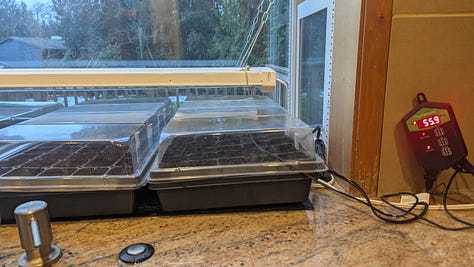
Rookie mistake #2? Watering from above. Your seedlings need to send roots down to find water and nutrients. School them from day one. Watering overhead spreads diseases through your crops, and indoor plants don’t have the benefit of a light breeze to dry their leaves off like plants outside do.
Set your tray(s) in a sunny window to germinate.7
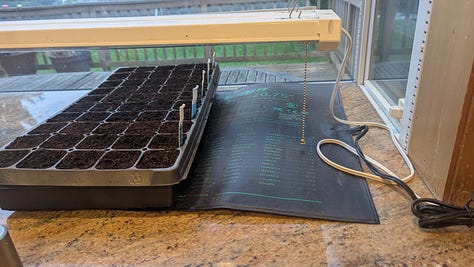
If you’re growing something that wants to stay warm while it germinates, invest in a seedling heat mat. They typically come in a 20inch square size which will fit two seed trays at a time. They also have a little probe which you poke into the soil of one cell. Set the temp to the recommended germination temperature and wait for the magic to happen.
If you haven’t ever used a seedling heat mat before, you might be shocked at just how effective it is. For solanums (tomatoes and peppers) in particular, this is a game changer. A heat mat will cut your germination time in half versus raising them cold. You’ll also get more vigorous sprouts. Weaning off the heat happens over the course of several weeks.
Wherever you place your seed trays, be sure you’ll see them regularly. I use a kitchen window right behind the sink as well as another similar window in my gym. Gosh, maybe I should go do a workout now? You don’t want to miss a dry moment or a sprout emerging, so place your seedlings where you’ll be.
Bottom line:
Water less frequently in big gulps from the bottom of the tray.
Pick up an inexpensive heat mat for growing warmer crops.
Keep your seeds where you can fuss over them at least once daily.
I see my babies emerging!!
Great work! With any luck your seedlings should be sprouting in as little as 3 days, though many varieties take between 6 and 20 days to sprout. Don’t give up if you have not seen them yet!! Okay, okay, if it’s been a month, it’s okay to admit a little defeat.
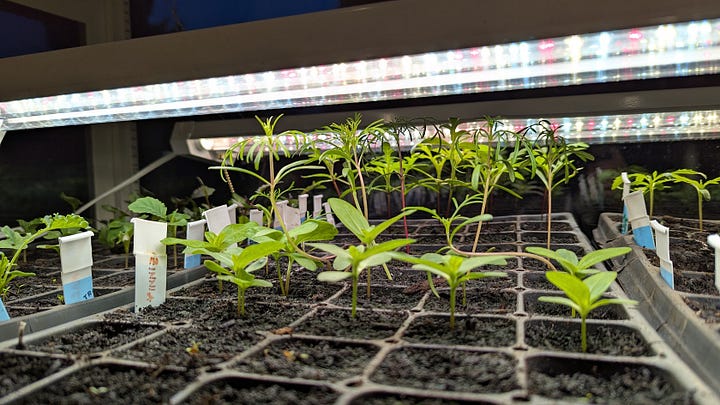
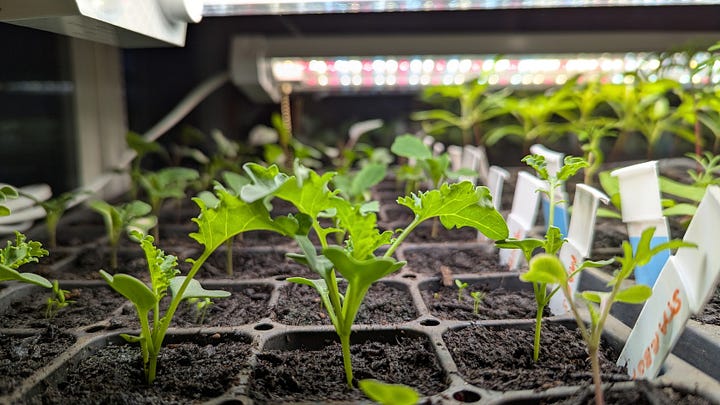
As soon as you have a single seedling up, it’s time for some light. If you don’t have any spare ballasts hanging around somewhere, invest in a couple of hanging LED grow lights. Think inexpensive here, do not break the bank. Professional growers will really talk your ear off about LED lights and some seriously fancy (pricey) gear, which you do not need. You can even use florescent, just do not use incandescent (too much heat). Set your lights on a timer or turn them on and off manually every day. Your seeds need light for about 12 hours daily.
Keep the light as close as possible to the tops of the plants. I mean it. Yes, really really close. Less light means your plants will grow leggy to reach it, so don’t make them go through that trauma. If you have lights on a chain, you can easily raise or lower it as needed.
If you don’t have a grow light, you can use a sunny window for this. Just bear in mind your seedlings will absolutely get leggy and need to be taken outdoors sooner so that they can benefit from full sunlight.
Whew!! That was a lot, right? Listen, I told you at the start, gardening is hard work, and a lot of that hard work is learning a skill you might not have been taught elsewhere. Give yourself a pat on the back for remembering even half of what I just told you. Once your sprouts are up, it’s game on. And if you’ve never had seedling success before, I’m challenging you to try it my way and see the difference.
Your trans friend,
Robin
Johnny’s, Territorial, West Coast Seeds, or High Mowing Seeds have great reputations. I buy almost exclusively from Johnny’s unless they don’t stock a variety I want.
Silica gel desiccant can be ordered online, and most of it is reusable. Toast it in the oven once a year to remove all the moisture it’s collected, then gently pour it back into little linen baggies you chuck in your seed bucket. Wear gloves—desiccant is not good for your skin. Also be sure to keep it away from children and pets.
Best ever purchase? Winstrip trays by Neversink Tools. Thank me later.
Egg cartons might look like an inexpensive upcycling project for starting seeds, but they present two problems:
1. The cells are too shallow for most seedlings, causing them to dry out.
2. Seedling roots will embed into the tray and be torn if you try to remove them.
Some folx will tell you to just plant the whole thing in the garden soil once the seedlings are bigger, but most cartons don’t break down fast enough for those tiny plants to get their roots into the soil. To help that along, you have to really soak that carton material with water, which then reduces the air pockets around the roots.
You can usually get these for free from friends, neighbors, and often from plant nurseries. Brush out old dirt, then dip them in a 10% bleach and water solution to kill off bad bacteria before you add potting soil.
Really up to the task? Make your own seed starting mix by combining peat moss, fine-sifted compost, and vermiculite. You can also take regular potting soil and mix in peat moss and vermiculite to loosen it for seedlings.
This is a general rule of thumb. Different plants have different germination requirements.


I am about to start the seedling adventure so this could not have come at a better time!! I bought myself a fair sized balcony planter and I want to try a few veggies in it as we finally have southern exposure in the new place (old place was northern, I still tried but it was very sad, only thing that worked was herbs). I will definitely follow your amazing guide!!
This post may have seemed long to you, but it was so much shorter than the gardening books I've read over the years that have failed to help me understand where I go wrong. Thanks for sharing your hard-won expertise. I'm also appreciating the metaphor. Lots of patience and care needed right now to plant the seeds that will later germinate and bloom into something beautiful and nutritious.